
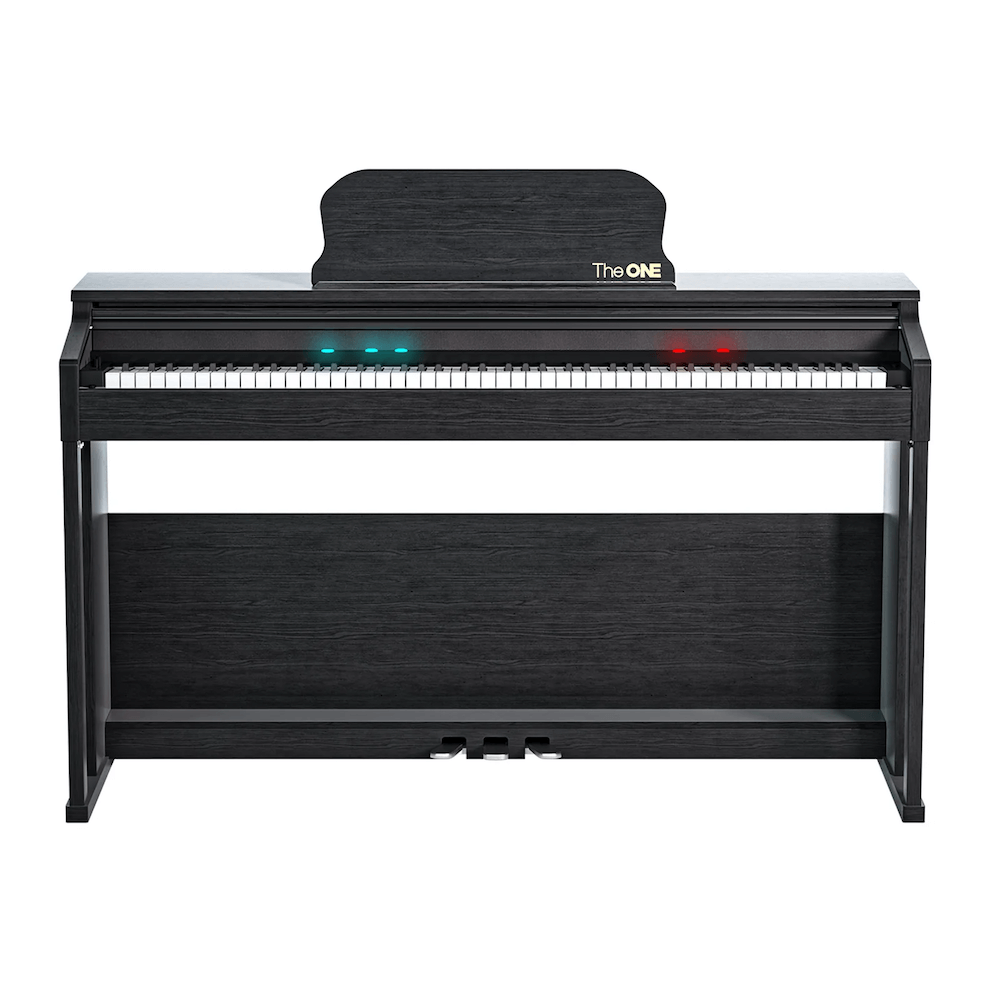
Measure a keyboard dust cover from the instrument’s maximum width, front-to-back depth and height, including fixed controls or music-rest mounts that will remain under it. Compare those measurements with the cover’s internal dimensions and shape; a “61-key” or “88-key” label alone does not prove fit.
Key takeaways
- Start with the exact module, pad and documented connection.
- Change one variable at a time and save the baseline.
- Test soft, normal and demanding real playing.
- Separate hardware, settings, routing and technique.
- Stop when damage, unsafe levels or physical discomfort appears.
Which parts of the keyboard should you measure?
Measure the widest, deepest and tallest fixed points of the instrument as it will normally be covered. Remove detachable music rests only if you genuinely plan to remove them every time. Do not include the stand or bench unless the cover is specifically designed as a full setup cover.
The first question is not “Which setting is best?” but “What observable result must improve?” Write down that result so a change can be accepted or reversed.
How much extra room should a cover have?
Allow enough ease for the fabric and seams to slide on without pulling knobs, switches or ports, but not so much that loose material hangs into pedals, vents or walking paths. Use the maker’s sizing guidance instead of inventing one universal allowance.
| Check | Useful sign | Warning sign |
|---|---|---|
| Width | Clears both end panels | Seams pull across corners |
| Depth | Covers front and rear safely | Blocks permanent cable route |
| Height | Clears controls and mounts | Presses knobs or screen |
| Material | Clean, non-abrasive and suitable | Sheds fibers or traps moisture |
Use a controlled setup and test sequence
- Place the instrument in its normal position and unplug it safely.
- Measure maximum width with a rigid tape or rule.
- Measure deepest front-to-back point and highest fixed point.
- Sketch protrusions, cable exits and ventilation areas.
- Compare with internal—not package—dimensions and test the return policy.
Repeat the final test after a short break. A setup that works once but cannot be reproduced is not yet ready for a lesson, recording or purchase decision.
What should you do when the result is wrong?
If the cover catches, identify whether the width, depth, height or shape is wrong. A tight seam over a control is a fit failure even when overall dimensions appear adequate. Do not put a cover on while the instrument is warm if the manual requires ventilation, and never place objects on top as though the cover were structural.
Document the symptom, exact model, connections, relevant settings and the smallest reproduction. That evidence is more useful to support or a teacher than a list of random changes.
Apply the decision in real practice
Run a fifteen-minute normal session that includes quiet strokes, accents, fast passages and movement around the kit. Check whether the solution remains comfortable and whether another part of the system has become the new limitation. For shared setups, repeat with each player rather than assuming one configuration fits everyone.
Maintain a reversible baseline
Photograph cable routing, hardware positions and settings pages before further experiments. Name saved presets with the kit, software and date. When firmware, an app, a computer or a pad changes, return to the short acceptance test instead of assuming the old result still applies.
Work through a measurement example
Suppose the instrument body is widest at the end cheeks, deepest where the rear connector housing projects, and tallest at a fixed control panel. Record all three maximum dimensions, then add the cover maker’s stated fitting allowance rather than modifying the instrument measurements. If the candidate cover publishes only an exterior package size, the evidence is incomplete: request internal dimensions or choose a seller with a clear fit chart.
Now test the routine. With cables arranged as they will be during storage, fit and remove the cover without dragging it across keys or catching a knob. If daily removal requires disconnecting a fragile plug, decide whether the cover design or cable route should change. The output is not merely “88-key cover”; it is a verified internal size, permitted material and repeatable fitting method.
Choose material around the room
A breathable fabric may suit ordinary indoor dust, while a lined or water-resistant product may add weight and trap moisture. Sunlight, pets, renovation dust and long storage create different risks. A dust cover cannot correct high humidity, leaks, unstable furniture or direct heat. Clean the cover itself according to its instructions so grit does not become an abrasive layer against the finish.
Final fit acceptance test
- No seam presses keys, buttons, screens or knobs.
- Ventilation and power-off requirements in the manual are respected.
- No loose edge enters pedals, walkways or a child’s reach.
- The cover can be removed and stored without touching the floor.
- After one week, the surface shows no residue, trapped condensation or abrasion.
Related learning path
Use the parent electronic-drum guide for the broader decision, continue with the closest related troubleshooting or practice page, and confirm current product context through The ONE’s official drum collection.
Frequently asked questions
Can any 88-key cover fit any 88-key piano?
No. Key count does not determine cabinet width, depth, controls or music-rest geometry.
Should cables stay connected under the cover?
Only if the manual permits it and the cover does not bend, pinch or block them.
Does a dust cover protect against spills?
It is primarily for dust; do not assume water resistance or use it instead of safe placement.


